Revit Cannot Split Face Slope Floor

Split Face Boundary Issues Autodesk Community Revit Products

Problem When Creating Slope On Floor Autodesk Community Revit Products

About Editing Floor And Roof Shape Revit Products 2019 Autodesk Knowledge Network

Solved Bottom Sloped Floor Autodesk Community Revit Products
Video Shape Editing Roof And Floor Slabs Revit Products 2018 Autodesk Knowledge Network
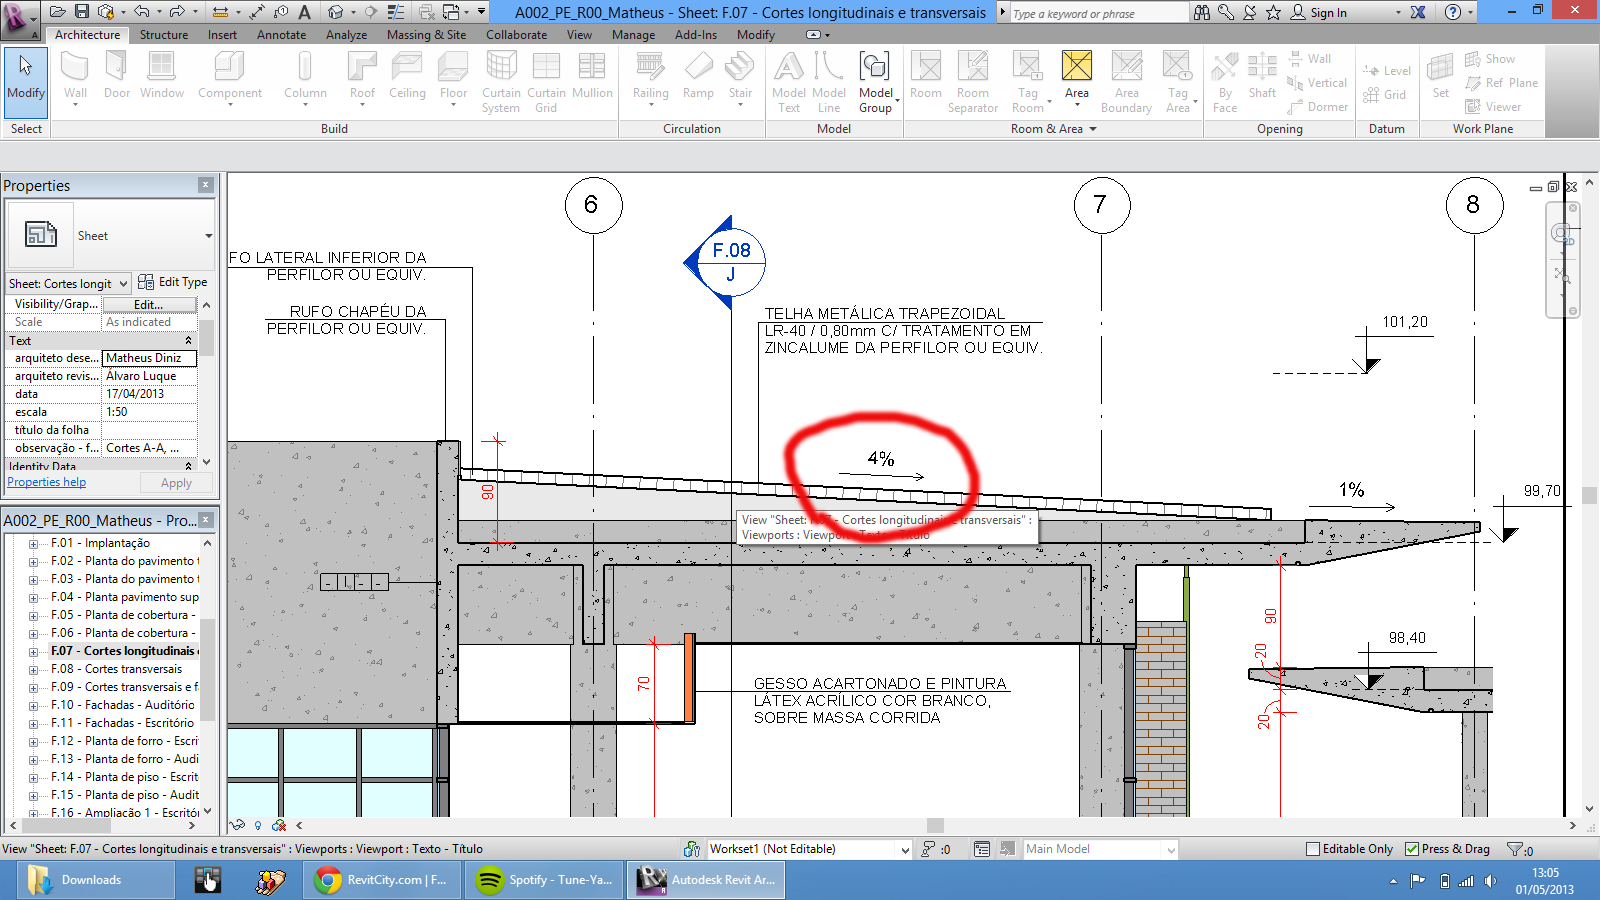
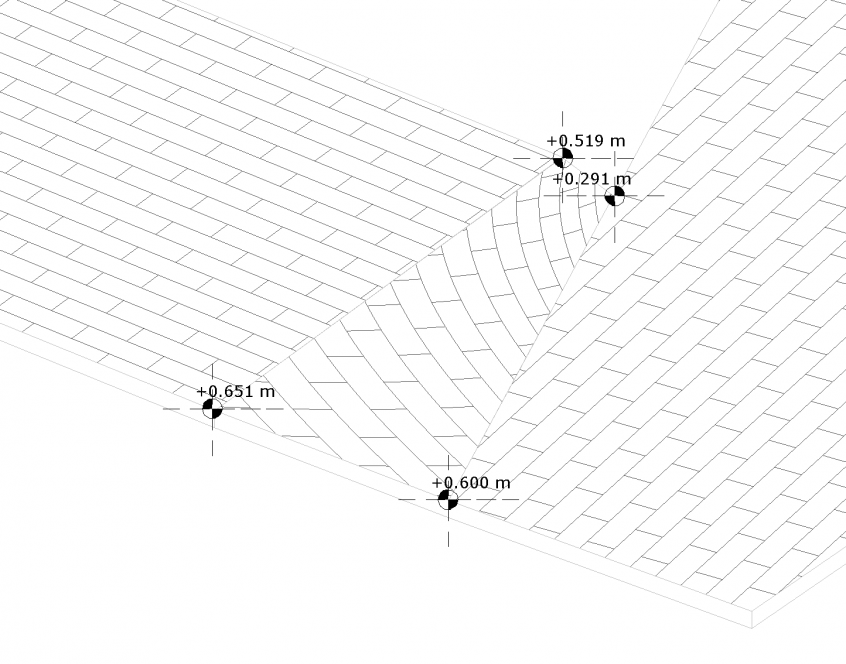
Revitcity Com Spot Slope Annotation Problem Revit 2013
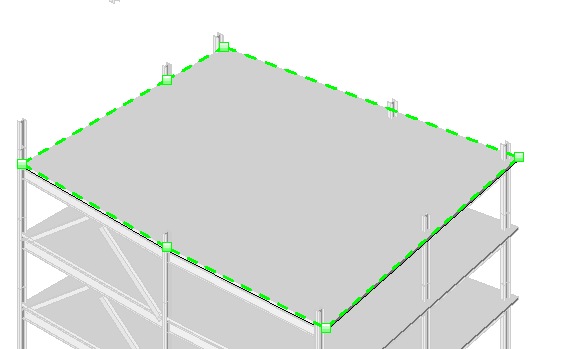
Add a floor material use split face add another material.
Revit cannot split face slope floor.

Given Below Some Useful Tricks To Simplify The Process For Making Your Building Project Details Quickly In Revit Revit Tutorial Autocad Architecture Program

Introduction To Revit Conceptual Massing Engineering Com Revit Architecture Revit Tutorial Conceptual

Sloped Floors Join With Horizontal And Put A Stair On Top Autodesk Community Revit Products

Create Slanted Deformed And Other Nonstandard Walls In Revit Revit Products Autodesk Knowledge Network

Solved Retaining Walls In Revit Lt Autodesk Community Revit Products
Sloped Surface Patterns In Revit Johan Hanegraaf

Create A Sloped Floor W Tile Design Finish In Revit 2017 Autodesk Community Revit Products

Autodesk Revit Sloping Curved Walls Youtube

Pin On Revit
Split A Roof Or Structural Floor Revit Products 2018 Autodesk Knowledge Network

Cant Cut Family Instance Out Of His Host Please Help Autodesk Community Revit Products

Revit Structure Best Practices Modelical

Revit Sloped Glazing Youtube

Setting Topographical Surface To Autocad Page 2 Autodesk Community Revit Products

Autodesk Revit Creating And Dividing Parts Youtube

Add A Point To A Roof Or Structural Floor Revit Products 2018 Autodesk Knowledge Network

Revit Tutorials Roofs Youtube

Cutting A Toposurface With A Solid Autodesk Community Revit Products

Making A Curved Mass Surface In Revit Youtube
Electrical Distribution Systems In Revit Using Layoutfast Autodesk University

Split Surface Highline 23 Surface Architecture Sketch New York Street

Solved Best Way To Create Garden Patio Path Autodesk Community Revit Products

Revit Behzad Meskini

Apply A Material To The Face Of An Element Revit Products 2017 Autodesk Knowledge Network
Source : pinterest.com
